Travel Map

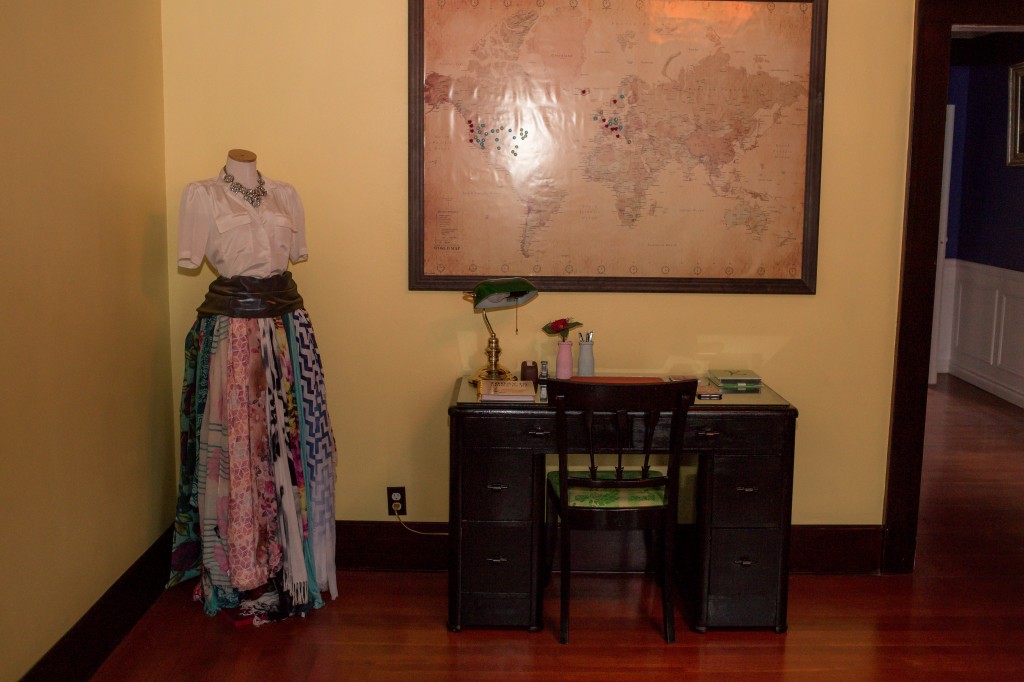
It should come as no surprise that Jon and I share a love of travel. We are always adventuring and try to travel to new places every year. In our home, we wanted a way to display this love of travel with our guests as well as something we could add to with every trip.
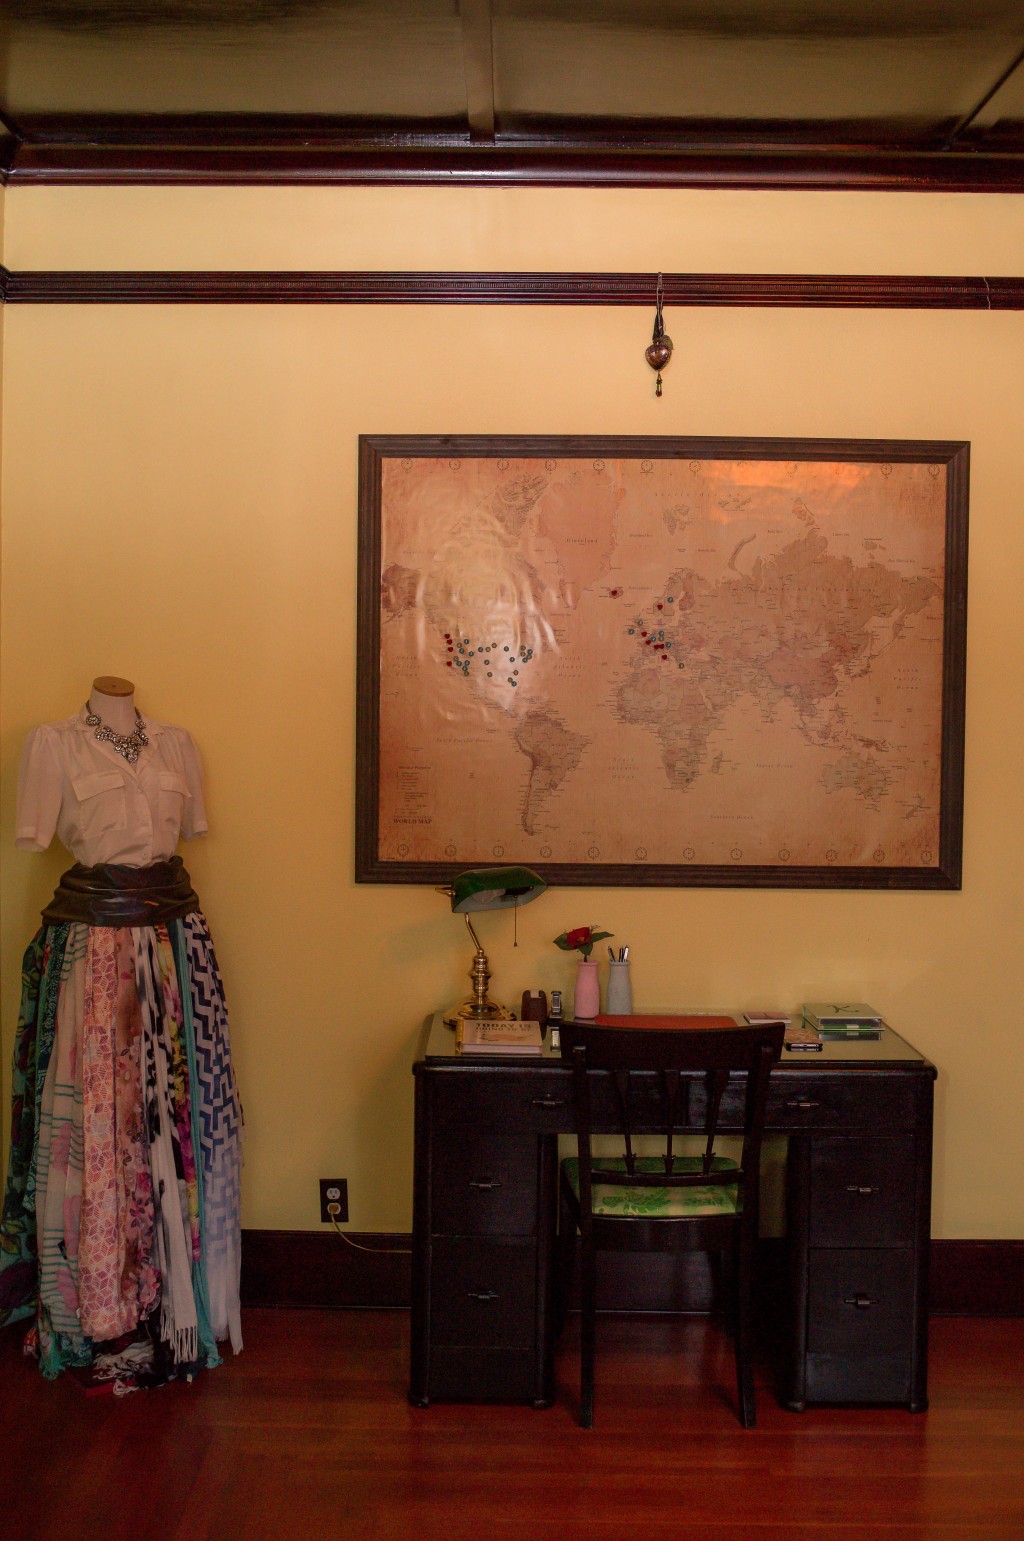
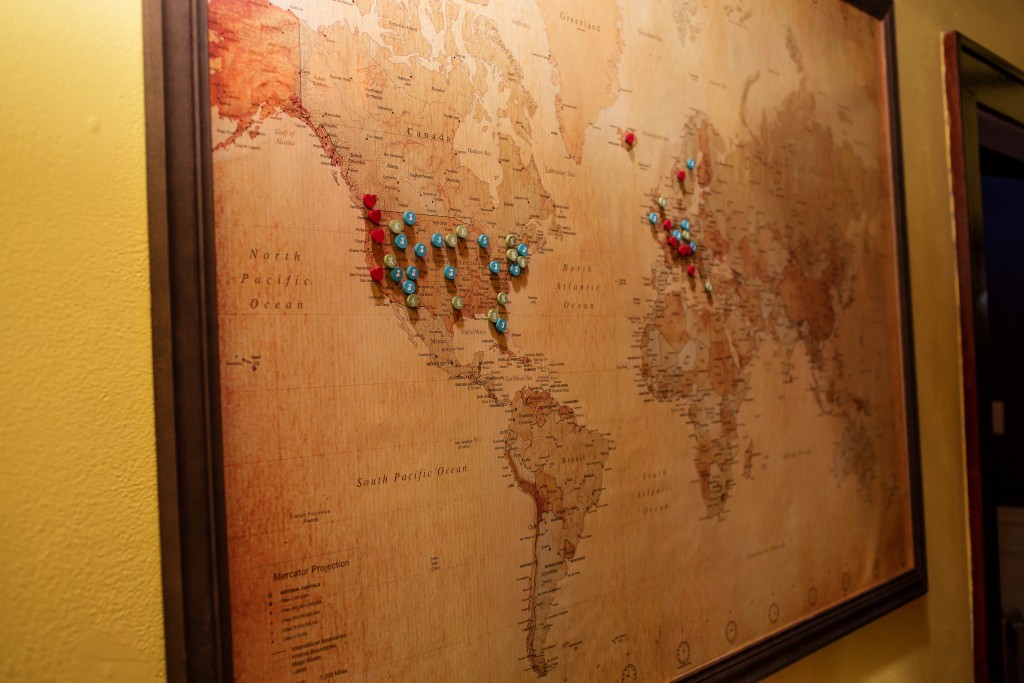
We had an incredibly difficult time finding a map that met our requirements: size, color, map style, pins/markers. And when we did find something we liked, it was crazy expensive! So, we decided to make our own. Jon built the frame with reclaimed wood and mounted the map onto a magnetic background, while I painted and embossed the markers and hot glued magnets to the back of each. The hardest part of the project was picking out the wood to use – all in all it came together in about a week!
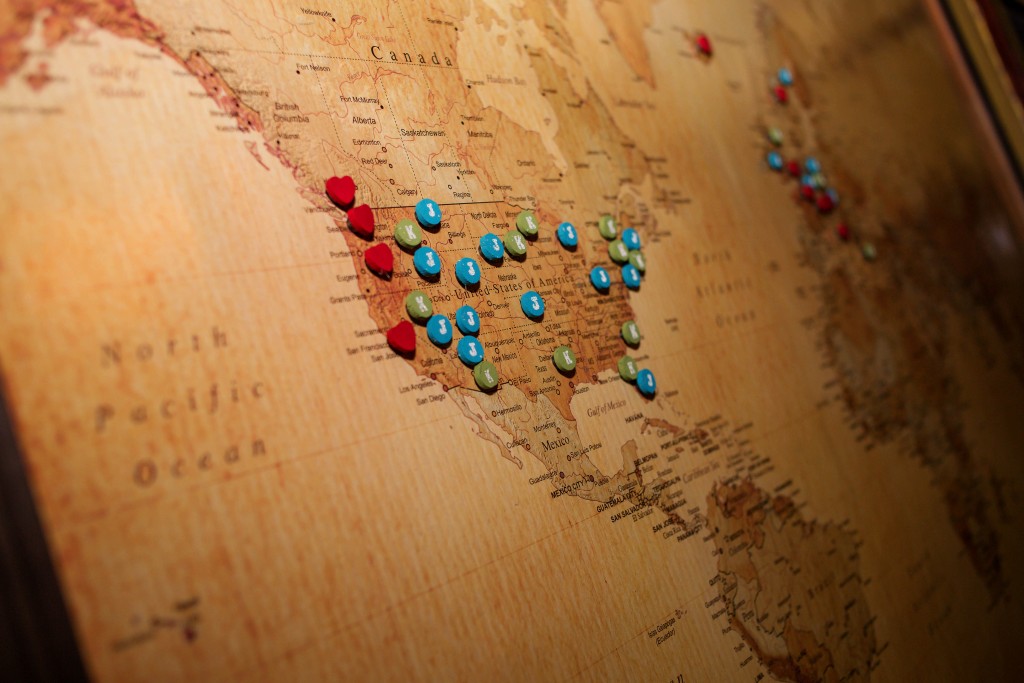
Since Jon and I have both traveled frequently as individuals as well as a couple, we represented this on the map by using hearts to show where we’ve traveled together, while my travel is marked with blue K’s and his with green J’s.
Materials Needed:
- Frame / Reclaimed Wood
- Particle Board
- Map
- Magnetic Paint
- Adhesive Glue Spray
- Hot Glue Gun
- Magnets
- Heart-shaped and circle-shaped wood
- Paints
- Embossing Stamp & Powder
How to Build the Map & Frame:
- Cover particle board with magnetic paint (the more coats, the better), let dry.
- Spray particle board with adhesive glue spray and attach map to the particle board, let dry.
- Mount the map/particle board in the frame.
How to Create Your Pins:
- Select your shapes and paint colors for pins. Make sure they are relatively the same size.
- Paint the shapes with the selected color, let dry.
- Emboss or use chalk to personalize your pins.
- Hot glue magnets to the back of the shapes, let dry.
- Place on map!
